How to Draw Henna Tattoos: A Comprehensive Guide for Beginners
Henna tattoos, also known as Mehndi, are a beautiful and temporary form of body art that has been practiced for centuries in various cultures, particularly in South Asia, the Middle East, and Africa. The intricate designs and rich symbolism make henna a popular choice for celebrations, ceremonies, and simply as a form of self-expression. If you’ve ever been captivated by the artistry of henna and wondered how to draw henna tattoos yourself, this guide is for you. We’ll walk you through the process, from gathering your supplies to creating stunning designs.
Understanding Henna and Its Application
Before diving into how to draw henna tattoos, it’s crucial to understand what henna is and how it works. Henna is a natural dye derived from the *Lawsonia inermis* plant. The leaves are dried, crushed into a fine powder, and then mixed with liquids like water, lemon juice, and essential oils to create a paste. This paste is then applied to the skin, where it stains the outer layer, resulting in a temporary tattoo that typically lasts for one to three weeks.
The Importance of Natural Henna
It’s vital to use natural henna for your henna tattoo designs. Black henna, often sold in tourist areas, contains a chemical dye called paraphenylenediamine (PPD), which can cause severe allergic reactions, scarring, and permanent skin damage. Always ensure you are using natural henna, which stains the skin a reddish-brown color.
Gathering Your Supplies
Learning how to draw henna tattoos requires a few essential supplies. Here’s a checklist to get you started:
- Henna Powder: Opt for high-quality, finely sifted henna powder.
- Liquids: Lemon juice, strong brewed tea, or distilled water to mix with the henna powder.
- Essential Oils: Tea tree, lavender, or eucalyptus oil are commonly used to enhance the stain and fragrance.
- Applicator: A cone, syringe, or applicator bottle with a fine tip. You can buy pre-made cones or make your own using cellophane or mylar sheets.
- Design Stencils (Optional): Helpful for beginners who want to practice or create complex designs.
- Transfer Paper (Optional): To transfer pre-drawn designs onto the skin.
- Cotton Balls or Tissues: For cleaning up mistakes.
- Sugar and Lemon Juice Mixture: To seal the henna design and keep it moist.
- Gloves: To protect your hands from staining.
Preparing the Henna Paste
Making your own henna paste is a rewarding part of learning how to draw henna tattoos. Here’s a step-by-step guide:
- Sift the Henna Powder: Use a fine sieve to remove any lumps and ensure a smooth paste.
- Mix the Liquids: In a glass bowl, combine the henna powder with lemon juice or tea. Start with a small amount and gradually add more until you achieve a thick, yogurt-like consistency.
- Add Essential Oils: Incorporate a few drops of essential oil. This not only enhances the stain but also adds a pleasant aroma.
- Allow to Dye Release: Cover the bowl with plastic wrap and let it sit at room temperature for 12-24 hours. This allows the henna to release its dye.
- Check for Dye Release: After the resting period, check for dye release by dabbing a small amount of paste on your palm. If it leaves an orange stain within a few minutes, the paste is ready.
- Adjust Consistency: If the paste is too thick, add a little more liquid. If it’s too thin, add a bit more henna powder.
- Strain the Paste: Transfer the paste to a cone or applicator, ensuring it’s free of any lumps that could clog the tip.
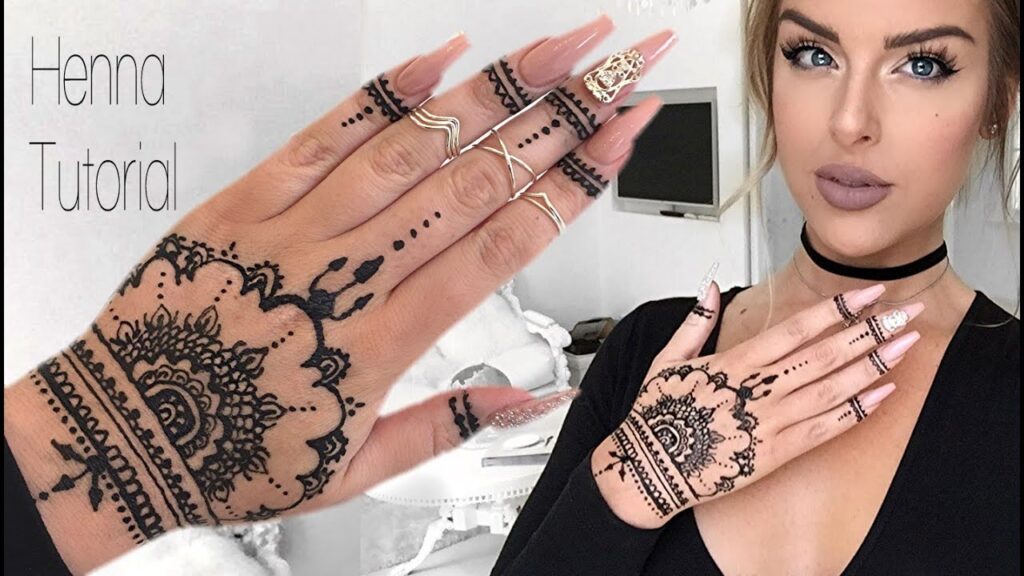
Choosing Your Design
Selecting a design is an exciting part of learning how to draw henna tattoos. Consider your skill level and start with simple patterns. Traditional henna designs often incorporate floral motifs, paisley patterns, geometric shapes, and symbolic elements. You can find inspiration from books, online resources, and cultural traditions.
Practicing Your Designs
Before applying henna to your skin, practice your designs on paper or a practice skin. This will help you get comfortable with the applicator and refine your technique. Focus on creating consistent lines and smooth curves.
Applying the Henna
Now comes the fun part: actually learning how to draw henna tattoos on the skin. Follow these steps for best results:
- Clean the Skin: Wash the area where you’ll be applying the henna with soap and water. Remove any lotions or oils.
- Apply the Design: Hold the applicator like a pen and gently squeeze out the henna paste, following your chosen design. Maintain a steady hand and consistent pressure.
- Correct Mistakes: If you make a mistake, quickly wipe it away with a cotton swab or tissue.
- Seal the Design: Once you’ve completed the design, apply a mixture of sugar and lemon juice. This helps keep the henna moist and allows for a deeper stain.
- Keep it Warm: Keep the area warm. You can use a hairdryer or wrap it in a bandage.
Aftercare for a Darker Stain
Proper aftercare is essential for achieving a rich, dark henna stain. Here are some tips:
- Keep the Henna on for as Long as Possible: Aim for at least 2-6 hours, or even overnight. The longer the henna stays in contact with the skin, the darker the stain will be.
- Avoid Water: Water can hinder the staining process. Try to avoid washing the area for the first few hours after removing the henna.
- Use Natural Oils: Apply coconut oil, olive oil, or shea butter to the area to moisturize the skin and prolong the stain.
- Avoid Harsh Soaps and Exfoliants: These can fade the stain quickly.
Troubleshooting Common Issues
Even with careful preparation and application, you might encounter some issues when learning how to draw henna tattoos. Here are some common problems and their solutions:
- Faint Stain: This could be due to poor-quality henna powder, insufficient dye release, or inadequate aftercare. Ensure you’re using natural henna and following the aftercare tips.
- Uneven Stain: This can happen if the henna paste is not applied evenly or if the skin is not properly prepared. Practice applying consistent pressure and ensure the skin is clean and dry.
- Allergic Reaction: If you experience itching, redness, or swelling, discontinue use immediately and consult a doctor. This could be a sign of a reaction to PPD in black henna.
Advanced Techniques for Henna Artists
Once you’ve mastered the basics of how to draw henna tattoos, you can explore more advanced techniques to elevate your artistry. Consider learning about:
- Different Cultural Styles: Explore the unique styles of henna art from different regions, such as Indian, Moroccan, and Sudanese.
- Shading and Highlighting: Add depth and dimension to your designs by incorporating shading and highlighting techniques.
- Negative Space: Use negative space to create intricate and visually striking patterns.
- Combining Henna with Other Art Forms: Experiment with combining henna with other forms of body art, such as temporary tattoos or body paint.
The Cultural Significance of Henna
Henna is more than just a decorative art form; it holds deep cultural significance in many societies. It’s often associated with celebrations, such as weddings, births, and religious festivals. The designs are often imbued with symbolic meanings, representing blessings, protection, and good fortune. When learning how to draw henna tattoos, it’s important to be respectful of the cultural traditions and meanings associated with this art form.
Conclusion
Learning how to draw henna tattoos is a rewarding and creative endeavor. With patience, practice, and a commitment to using natural henna, you can create stunning designs that celebrate beauty, tradition, and self-expression. Remember to always prioritize safety and respect the cultural significance of this ancient art form. So, gather your supplies, unleash your creativity, and embark on your henna journey today!
[See also: Henna Designs for Beginners]
[See also: Safe Henna Application Tips]
